
Quick Start

Get started with FastApps in just 3 steps:
# 0. Install using uv
uv tool install fastapps
uv tool install --upgrade fastapps # Update to the latest version

# 1. Create project
fastapps init my-app

# 2. Run
cd my-app
fastapps dev
That’s it! Your example widget is now running at a public URL. The public URL is temporary, and is issued with cloudflared behind the scenes. You can view your widget at https://<your-subdomain>.trycloudflare.com/mcp and add it to ChatGPT under “Settings > Connectors”.

Project Structure

When you run fastapps init my-app, this structure is generated:
my-app/
├── server/
│   ├── __init__.py              # Empty file
│   ├── main.py                  # Auto-discovery server (pre-configured)
│   └── tools/
│       ├── __init__.py          # Empty file
│       └── my_widget_tool.py    # ← YOUR CODE: Widget backend

├── widgets/
│   └── my-widget/
│       └── index.jsx            # ← YOUR CODE: Widget frontend

├── requirements.txt
└── package.json

Creating More Widgets

You can create additional widgets anytime:
fastapps create another-widget

Edit Your Widget Code

You only need to edit these 2 files:

server/tools/my_widget_tool.py - Backend Logic

from fastapps import BaseWidget, Field, ConfigDict
from pydantic import BaseModel
from typing import Dict, Any

class MyWidgetInput(BaseModel):
    model_config = ConfigDict(populate_by_name=True)
    name: str = Field(default="World")

class MyWidgetTool(BaseWidget):
    identifier = "my-widget"
    title = "My Widget"
    input_schema = MyWidgetInput
    invoking = "Processing..."
    invoked = "Done!"
    
    widget_csp = {
        "connect_domains": [],      # APIs you'll call
        "resource_domains": []      # Images/fonts you'll use
    }
    
    async def execute(self, input_data: MyWidgetInput) -> Dict[str, Any]:
        # Your logic here
        return {
            "name": input_data.name,
            "message": f"Hello, {input_data.name}!"
        }

widgets/my-widget/index.jsx - Frontend UI

import React from 'react';
import { useWidgetProps } from 'fastapps';

export default function MyWidget() {
  const props = useWidgetProps();
  
  return (
    <div style={{
      padding: '40px',
      textAlign: 'center',
      background: '#4A90E2',
      color: 'white',
      borderRadius: '12px'
    }}>
      <h1>{props.message}</h1>
      <p>Welcome, {props.name}!</p>
    </div>
  );
}
That’s it! These are the only files you need to write.

Test Your App

With your app running (fastapps dev) and public URL is ready,
you have two options to test your widget.
Option A: Test on MCPJam Inspector Add your public URL + /mcp to ChatGPT :
Example URL : https://<your-subdomain>.trycloudflare.com/mcp
npx @mcpjam/inspector@latest
Test your app with:
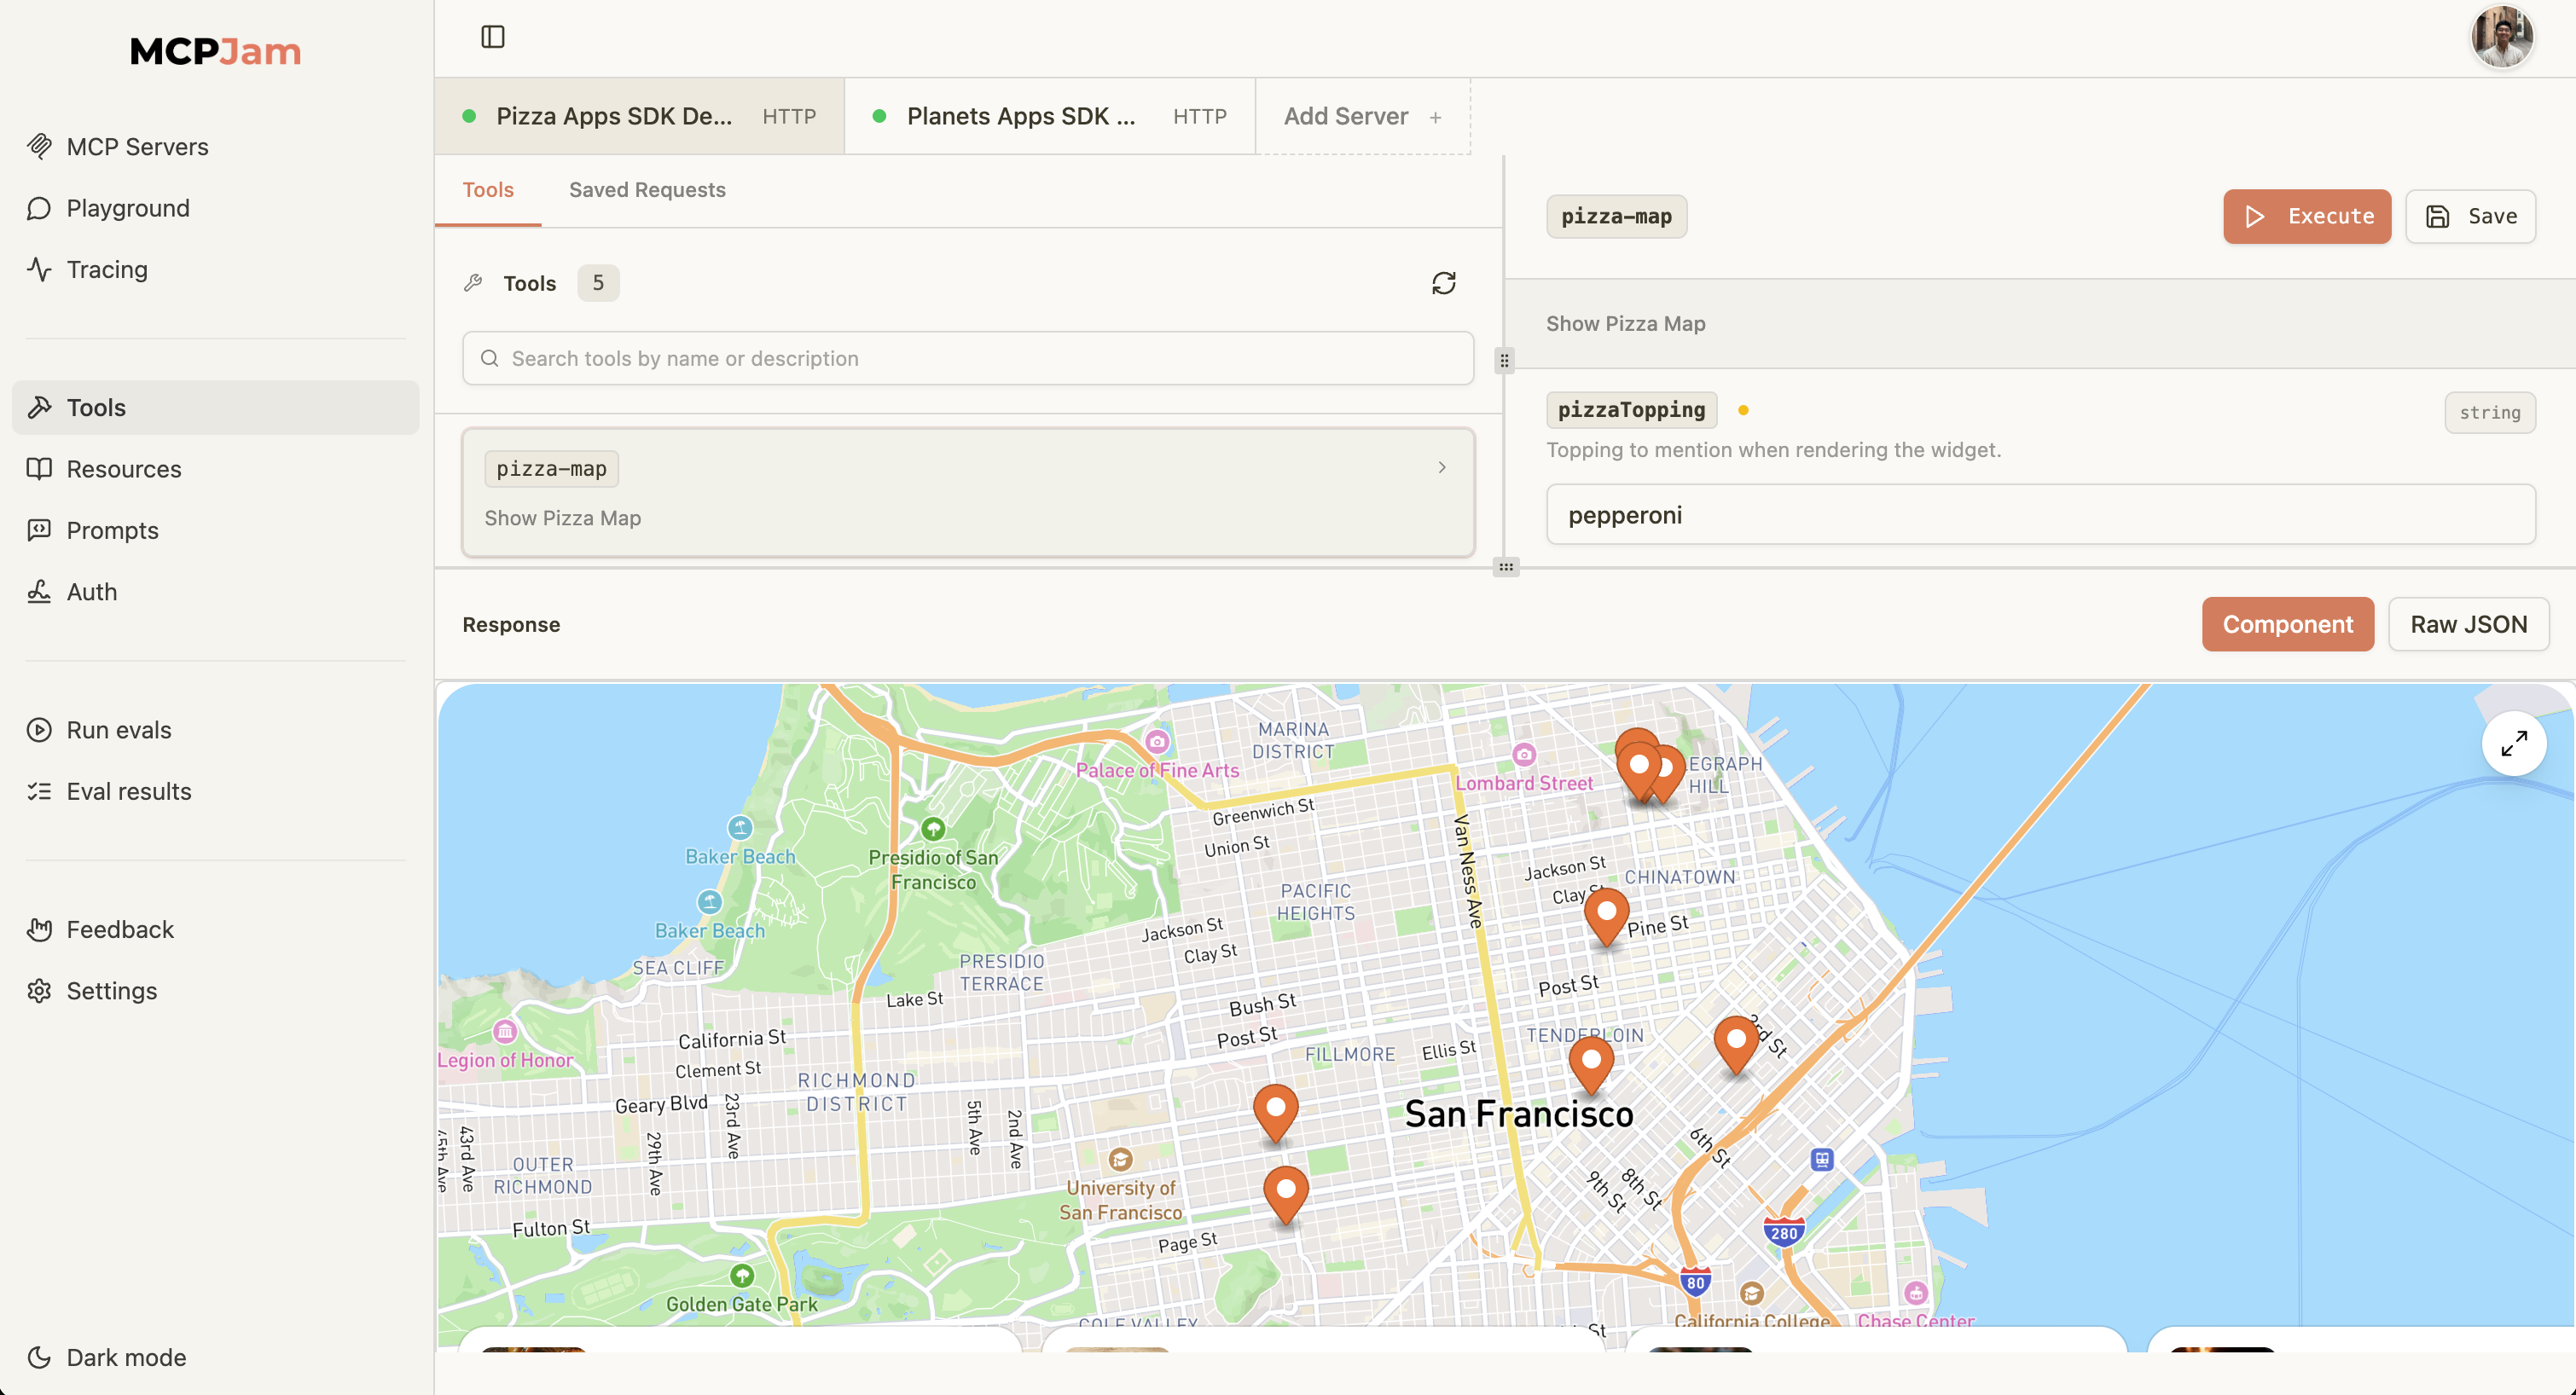
  • Tools tab: Deterministically call tools and view your UI
  • LLM playground: See your Apps SDK UI in a chat environment
image.png Option B: Test on ChatGPT Add your public URL + /mcp to ChatGPT’s “Settings > Connectors” :
Example URL : https://<your-subdomain>.trycloudflare.com/mcp

✅ Ready for Next Steps

  • Follow the Tutorial for a guided build
  • Explore Widgets and Tools to customize logic and UI
  • Connect APIs or state management when you need more power